
Here are the ingredients that I used:
Bakerella's Red Velvet Cake Ball Recipe
Duncan Hines Cake Mix Moist Deluxe, Red Velvet, 18.25-Ounce Boxes (Pack of 6)
Pillsbury Frosting Ready To Spread Cream Cheese, 16-Ounce Containers (Pack of 6)
Wilton 6 Inch Lollipop Sticks
Wilton White Candy Melts
Wilton Rainbow Chip Crunch
Wilton Pearlized Sprinkles, Pink
Wilton Pink Spring Sugar
Basket to display the finished Pops
Green Easter Grass
Small paint brush (I used the smallest, cheapest brush I could find at Michaels)
Here is the finished product. Ignore the Build-a-Bear basket...it's the only one we had in the house :-)
 |
| Ready to eat! |
The first thing I did was bake one box of the Red Velvet Cake. After letting it cool, I mashed it all together in my stand mixer and added one heaping spoon of frosting. (Every recipe will tell you to add a different amount of frosting. You want it wet enough to bind the cake together, but not too wet. I suggest adding a little frosting at a time until you get the texture that you desire). The mix should hold together without being runny.
 |
| I used a large, heaping spoonful of frosting. |
 |
| Mix it all together. |
 |
| Done! |
CAUTION: If you do use the freezer method to set your shapes, make sure that the shapes do not get too cold. That may lead to cracks in the candy coating. If you feel like the eggs are too cold, let them sit at room temperature until they warm up a bit. You shouldn't have a problem with it if you use the refrigerator method (at least I didn't).
 |
| Form the mix into an egg shape. |
 |
| Cover the finished eggs with saran wrap and place in the refrigerator overnight. |
The next morning, I removed the eggs and prepped the candy coating. I visited Michaels and picked up some of the Wilton Candy Melts. I placed about half a bag in a coffee cup and microwaved at 30 second intervals (stirring in between intervals) until the candy was thoroughly melted.
 |
| Microwave the candy melts at 30-second intervals. Stir in between intervals until completely melted. |
 |
| Dip the stick in melted candy. |
 |
| Insert the stick 1/2-3/4 the way through the egg. Hold for a few seconds so the candy has a chance to harden a little bit. |
 |
| Set the completed eggs aside so that the candy can finish hardening. This fuses the egg to the stick. |
By the time you're finished attaching the last stick to your eggs, the other sticks should be well set and ready to go. Make sure your candy is still warm (if not, microwave for 30 seconds and stir) and dip each egg, making sure the entire Pop is covered. Immediately start tapping the stick against the side of the cup. This helps to get rid of the excess candy (if there is too much candy, it will run down your stick before drying). Tap tap tap until you feel like all of the excess is off. It also helps to rotate the stick while you tap. That helps to evenly distribute the cooling candy.
 |
| After dipping each egg, tap-tap-tap the stick against the rim so that the excess candy falls off. |
If you plan on covering the entire egg in sprinkles, do it now before the candy hardens. Simply shake the sprinkles over the egg until you are satisfied. Then, place the finished egg into styrofoam until the candy coating is hard.
 |
| Before the candy has a chance to harden, sprinkle your topping onto the egg (place a plate underneath to catch the excess). |
 |
| Stick the finished pop into a styrofoam block until the candy is nice and hard. |
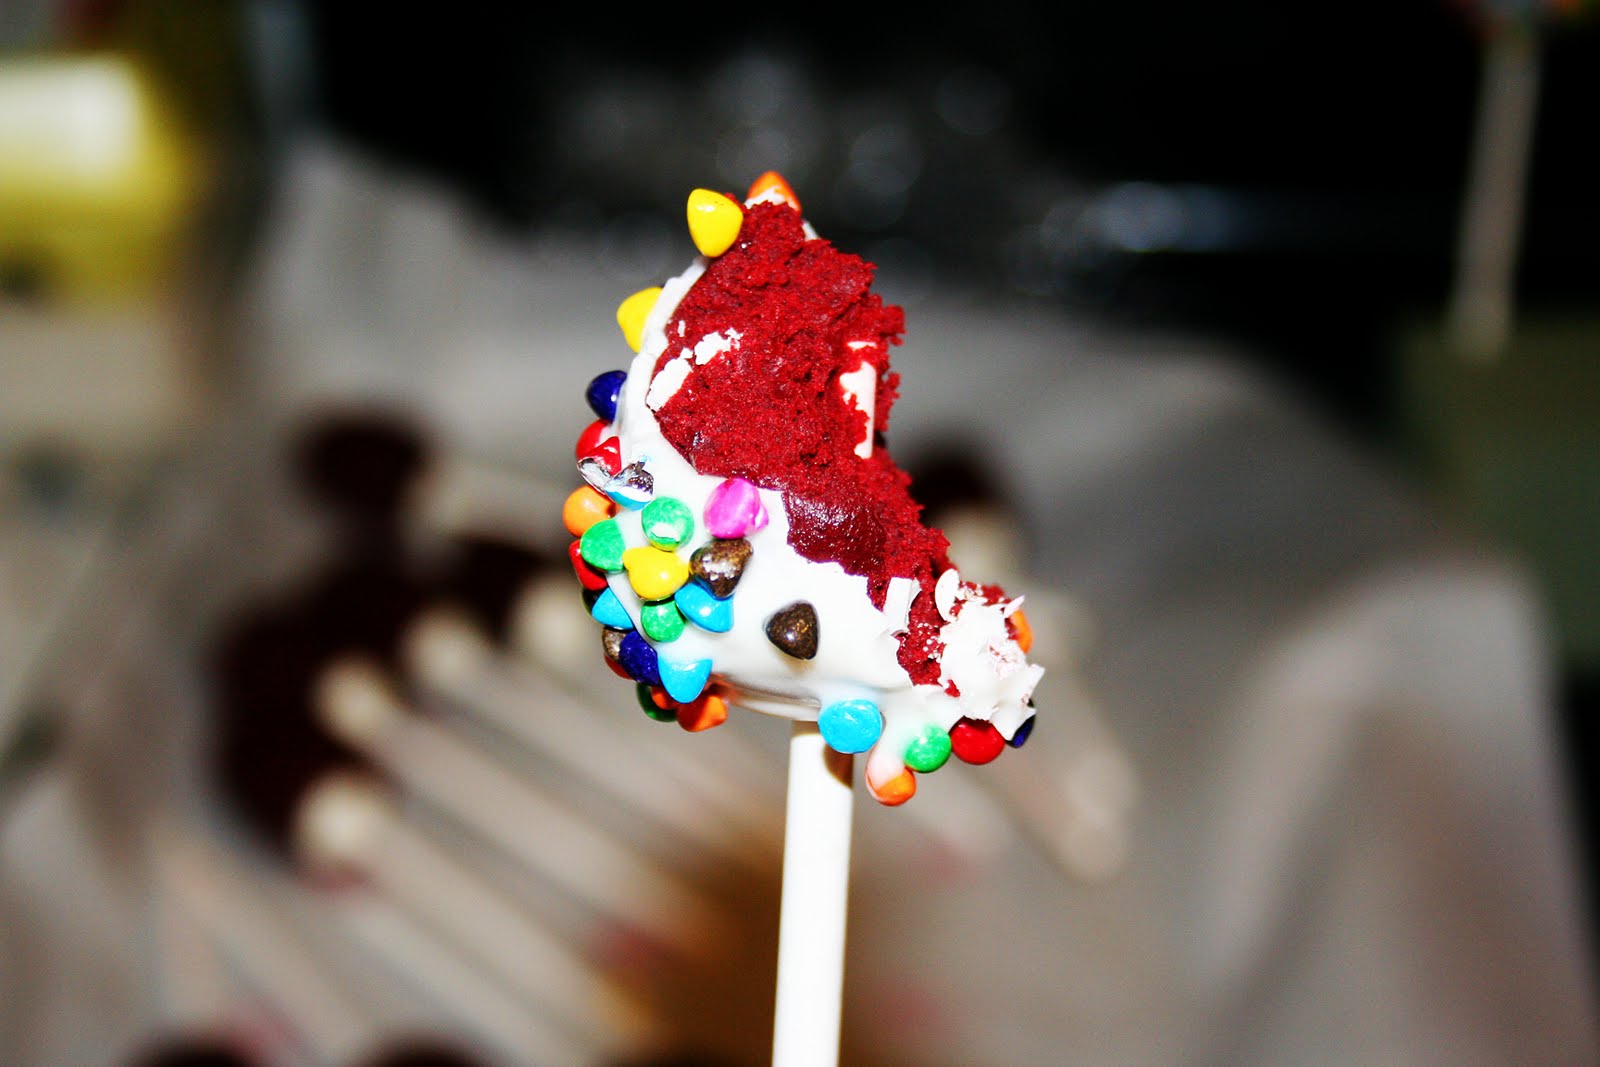 |
| Don't forget to regularly taste your work....you need to make sure that it's good! :-) |
If you wish to make a more intricate design on your eggs, simply dip the egg, tap off the excess, and place into the styrofoam block to harden. When the candy is completely hardened, take a small paintbrush and brush on some more candy into your desired shape. Quickly add your sprinkles before the candy hardens.
I felt that if I painted the egg all the way around that it would harden before I had the chance to add sprinkles. So I painted a little, then sprinkled. Painted a little more, then sprinkled.


You can even scare the kids with horrible scary bunny designs! (Not intentional of course). Reminds me a bit of the rabbit in Donnie Darko...
 |
| Aghhhh! |
Soon you will have a styrofoam block filled with beautiful easter eggs! Transfer them to an easter basket (with a styrofoam block in the bottom), and voila! Cake Pops are easy, they look great, and they are soooo delicious.

No comments:
Post a Comment